PIXEL
DOCK

I like the smell of Swift in the morning…

A new tag is in town. How to use bindings directly in Xcode Previews

Posted: | Author: | Filed under: Swift, SwiftUI, Tools, Xcode | Tags: , , | No Comments »

Xcode Previews are great. To be able to immediately see how changes in your code are rendered immensely speeds up the development process and makes developing UI elements real fun.

What makes previews even better is that they automatically become interactive when your View has a @State. Consider this code:

struct ColorSwitcher: View {
    @State var color: Color
    
    var body: some View {
        VStack {
            HStack {
                Button("Red") { color = .red }
                Button("Green") { color = .green }
                Button("Blue") { color = .blue }
            }
            color.frame(width: 200, height: 200)
        }
    }
}  

#Preview {
    ColorSwitcher(color: .red)
}

With automatically gives you a preview that is interactive. When you click on the buttons you can see that the colors change:
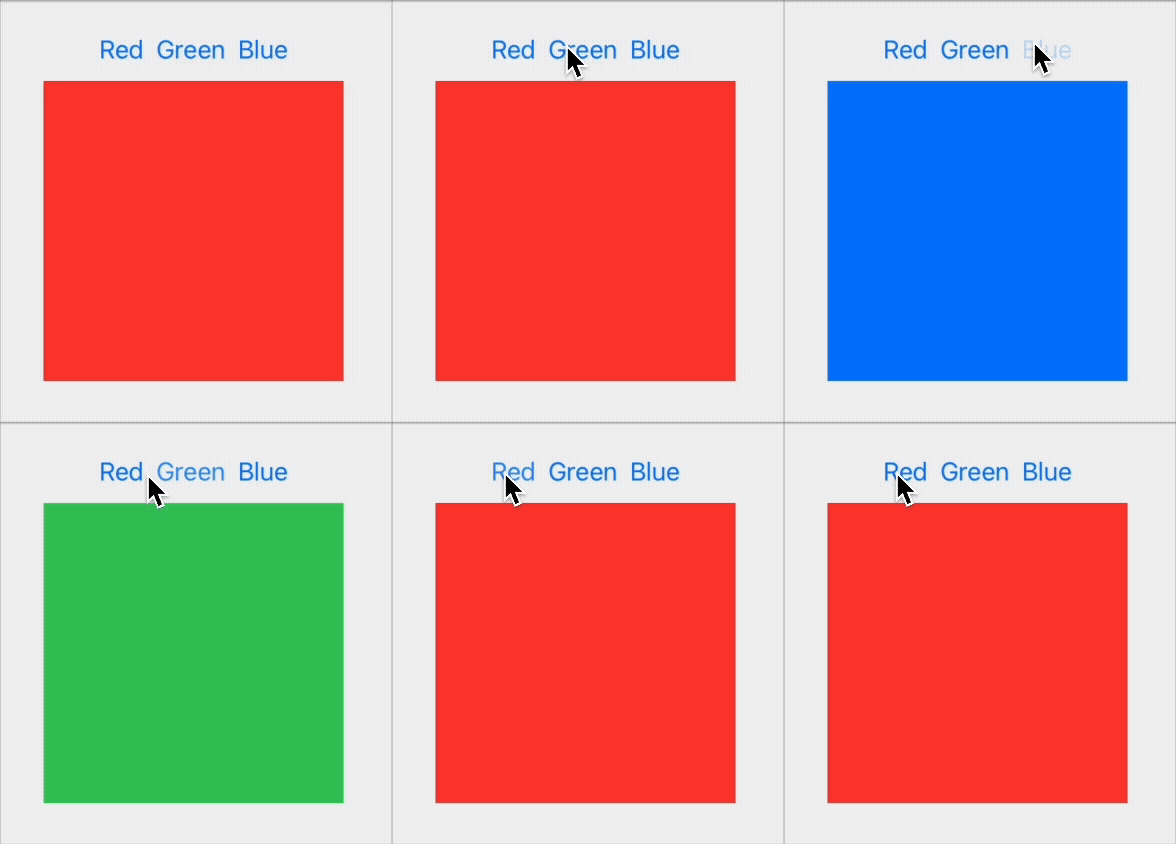
A clickable preview that changes the colors when you click on the buttons


So far, so easy.

Things become a bit more complicated when your view uses a @Binding instead of a @State. This is really common when you implement custom UI controls:

struct ColorSwitcher: View {
    @Binding var color: Color
    
    var body: some View {
        VStack {
            HStack {
                Button("Red") { color = .red }
                Button("Green") { color = .green }
                Button("Blue") { color = .blue }
            }
            color.frame(width: 200, height: 200)
        }
    }
}  

#Preview {
    ColorSwitcher(color: .constant(.red))
}

Now you need to instantiate a Binding inside the #Preview. The only way to do this without having access to a @State is to use a constant binding. This works but now the interactivity is gone. You can still tap the buttons, but the colors do not change (because the binding is a constant binding that cannot change).
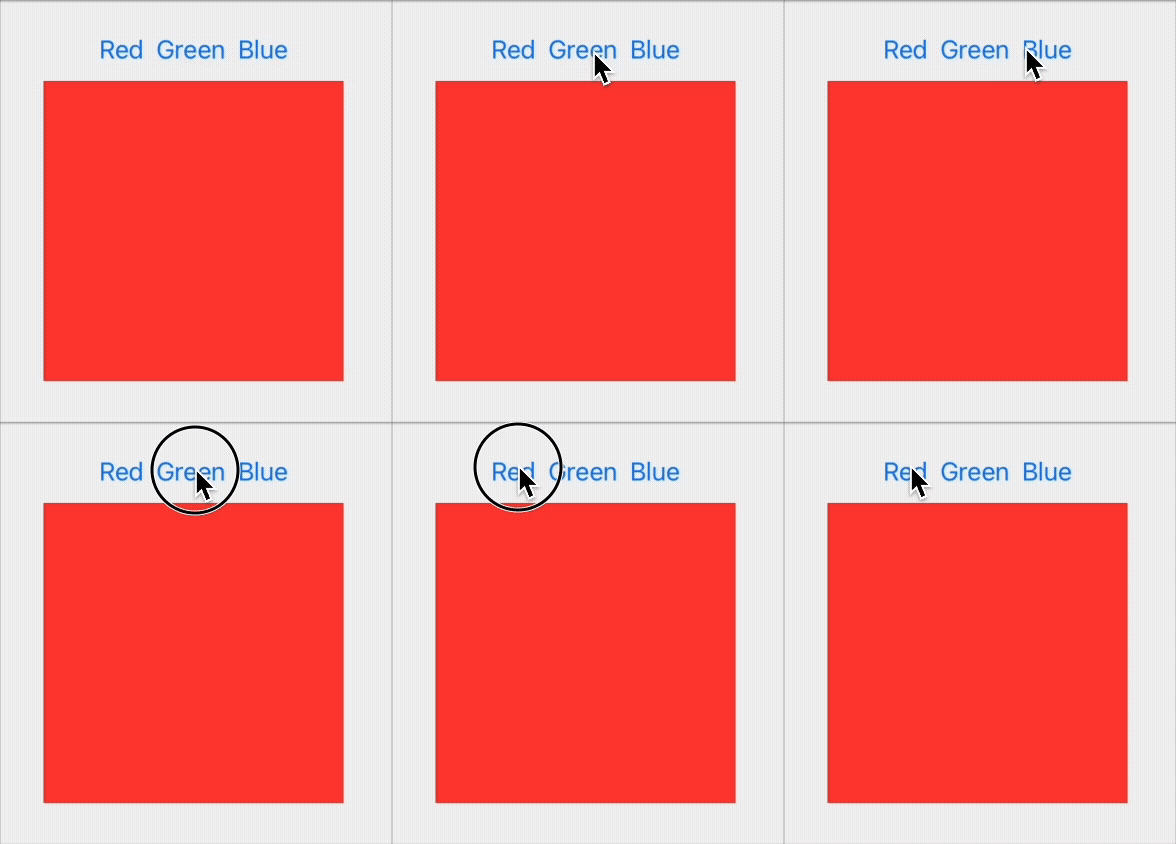
An animated gif showing that the preview does not change the colors when using a constant binding.


Previously (before iOS17) you help yourself by adding a preview wrapper that can have a @State:

struct ColorSwitcherPreviewWrapper: View {
    @State var color: Color = .red
    var body: some View {
        ColorSwitcher(color: $color)
    }
}

#Preview {
    ColorSwitcherPreviewWrapper()
}

This works, but it not a very elegant solution.

iOS17 to the rescue!

Now we can use the new @Previewable tag to allow a dynamic property to appear inline in a preview.

#Preview {
    @Previewable @State var color = Color.red
    ColorSwitcher(color: $color)
}

This makes the preview interactive again.

A clickable preview that changes the colors when you click on the buttons

cocos2d: unofficial installer solves installation problems

Posted: | Author: | Filed under: cocos2d, iOS | Tags: , | No Comments »

When installing the cocos2d framework with the method described in Steffen Itterheims Book “Learn iPhone and iPad cocos2d Game Development” (using the sudo command in the Terminal) the installation did not work properly and threw some errors. When creating a new project in Xcode, the cocos2D templates just would not show up.

After some googling I found this “unofficial” installer that does the dirty Terminal work for you and that works like a charm.

Thanks Steffen for writing that installer!

How to find an iPhone / iPad’s Document folder in Xcode

Posted: | Author: | Filed under: iOS, Xcode | Tags: , | No Comments »

Sometimes during development when you are writing or reading files from the Documents folder of an iOS Device it is quite useful to have a look at the devices filesystem. Or to the sandboxed Documents Folder of your app to be precise.

Here’s how you do it:

1. Developing on the Simulator

If you are using the iPhone / iPad Simulator for Development, the Documents folder is stored on your Mac’s harddrive:

/Users/user/Library/Application Support/iPhone Simulator/User/Applications/E599AF8C-D765-41A8-B593-A05D242CB701/Documents

You can also find the contents of the app’s “tmp” folder and the app’s preferences in the folder with the long and cryptic name. The only problem is to figure out what cryptic folder belongs to the current version of your app, because Xcode adds a new cryptic folder everytime you build your app in the simulator. So you probably have to find the right folder by looking at the folder’s timestamp.

2. Developing on the Device

Sometimes you have to use a “real” Device for Development. For example if you are using the iTunes File Sharing Feature which does not work on the Simulator. To find the device’s Document Folder for your app, follow this steps:

Xcode 3

  1. Open the Organizer Window in Xcode.
  2. Mark your Device in the left Column.
  3. Find your App in the “Applications” section on the bottom right.
  4. Click on the little triangle left of your App’s name.
  5. Drag the “Application Data” Bundle to your Desktop (or download it by clicking on the black arrow on the right)
  6. Open the downloaded folder (named something like: “com.yourcompany.appname 2011-02-24 10.50.14.277”) to find the Document Folder

Xcode 4

  1. Open the Organizer Window in Xcode.
  2. Mark your Device in the left Column.
  3. Click on “Applications” below your device (you might have to click on your device’s disclosure triangle to see these rows)
  4. On the right side you will see a list of your apps that are installed on this device.
  5. Click on your app’s “Download” Button
  6. Specify a save location and a folder containing your apps document folder will be saved.